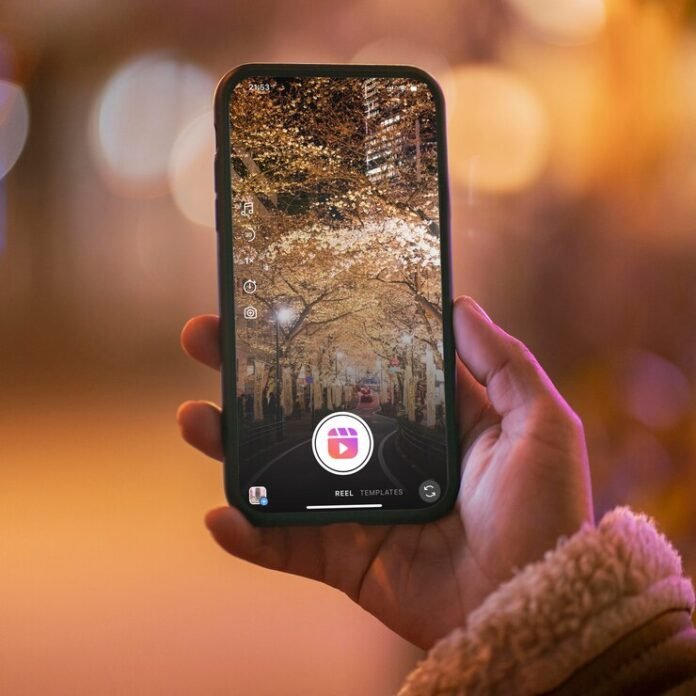
Have you ever uploaded a Reel and it ended up looking blurry? After spending hours editing, a blurry Reel is the last thing you want to see. In today’s post, I’ll show you how to upload the highest-quality Reels possible. Your friends and coworkers will be sliding into your DMs asking, “How did you do that?”
Also read: How to Get Your First 100 Followers on Instagram in 2024!
Step #1: Toggle on the High-Quality Uploads Button on Instagram
First, make sure you have turned on High-Quality Uploads on Instagram. Yes, Instagram has a setting for this!
Why is this setting usually turned off?
Apps compress your uploads to make them quicker and more efficient. But, this compression makes your photos and videos less clear than their original quality.
How to turn on High-Quality Uploads on Instagram:
- Tap your profile picture in the bottom right to go to your profile.
- Tap the three lines in the top right and select Settings.
- Tap Account and then Data Usage.
- Toggle on the High-Quality Uploads button so it turns blue.
Now, all your videos will start uploading in higher quality. It’s super easy, but there’s more you can do.
Step #2: Change Your Export Settings
Before we dive into export settings, remember: if you didn’t film your videos in high quality, export settings won’t matter much.
Filming Your Videos in High Quality
If you’re using a DSLR or a GoPro, make sure to film in 4K. If you’re using your phone and it can shoot in 4K, do that too.
Here are my iPhone 13 settings: I film in 4K at 30 frames per second because it’s the native frame rate for Instagram.
Export Settings in Adobe Premiere Pro and CapCut
For those using Adobe Premiere Pro, there are many YouTube tutorials from professional videographers. Generally, export at 4K, as an MP4, with a codec of h.264, and dimensions of 1080×1920.
I use CapCut for my video edits. Here are my settings: resolution at 4K, high-quality, 30 frames per second, and export as an MP4.
These are just my personal settings. If you have different ones that work for you, share them in the comments below!
Also read: How to Get More Instagram Likes in 2024: Why Still Matters!
Step #3: Don’t Edit or Add Stickers in the Instagram App
This last step might surprise you, but if you want high-quality Reels, avoid editing your videos or adding stickers directly in Instagram.
From my experience, adding video clips to edit in Reels decreases their quality. Do all your video editing outside the app for the best results.
Adding stickers like GIFs or polls can boost engagement, but they also compress your video when uploaded. To keep your video quality high, skip these.

