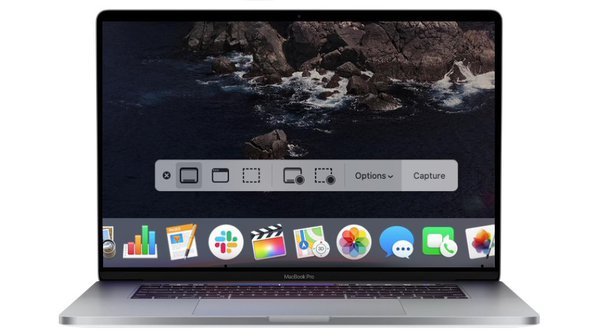
Your Mac has built-in tools for taking screenshots. You can capture your entire screen, a part of your screen, or a specific window. The problem is that these features are hidden behind keyboard shortcuts that aren’t obvious. Here’s a simple guide to the most useful Mac screenshot shortcuts.
Also read: How to Take a Screenshot on Your Windows Laptop in 2024!
Useful Mac Screenshot Shortcuts
Full-Screen Screenshot
To save a screenshot of your entire screen, press: Command (⌘) + Shift + 3
Single Window Screenshot
To capture a single window:
- Swipe up with four fingers to show all your windows.
- Press Command (⌘) + Shift + 4.
- Press the Space key.
- Click on the window you want to capture (your cursor will turn into a camera icon).
Selection Screenshot
To capture a selected area: Command (⌘) + Shift + 4, then select the area you want to capture with your mouse cursor.
Touch Bar Screenshot
To capture the Touch Bar (note: Touch Bars are being discontinued on newer Macs): Command (⌘) + Shift + 6
Tip: Copy Screenshots to Clipboard
If you want to copy the screenshot to your clipboard instead of saving it to your desktop, add the Control key to any of these shortcuts. For example, to copy a full-screen screenshot: Command (⌘) + Control + Shift + 3
Then, use Command (⌘) + V to paste it where you want.
Also read: How to Transfer Data from Android to iPhone
Customizing Screenshot Shortcuts
You can customize these keyboard shortcuts in your Mac’s settings:
- Open System Settings (click the Apple icon in the top-left corner > System Settings).
- Select Keyboard from the sidebar.
- Click Keyboard Shortcuts.
- In the sidebar, select Screenshots.
- Double-click the shortcut you want to change and type the new shortcut.
- Click Done.
You can always restore the default shortcuts if needed.
